
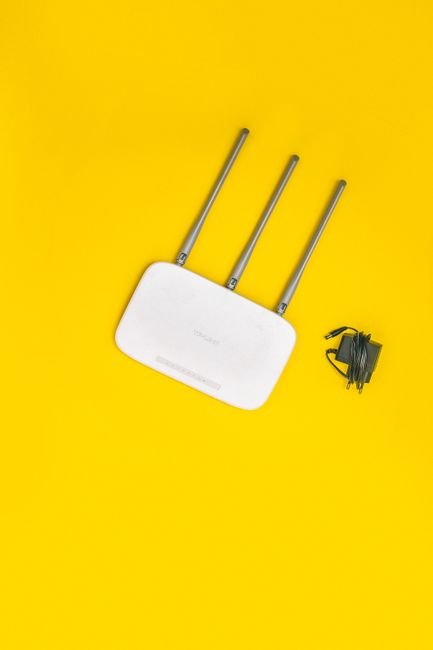
Fortify Your Fortress: Essential Wi-Fi Router Security Settings
Your Wi-Fi router is the gateway to your digital life. It’s the silent guardian of your home or office network, connecting your devices to the vast expanse of the internet. However, this crucial piece of hardware is also a prime target for cybercriminals. A compromised router can expose your personal data, allow unauthorized access to your devices, and even be used to launch attacks on others. Fortunately, securing your Wi-Fi network is not an insurmountable task. By diligently configuring a few key settings, you can transform your router from a potential vulnerability into a robust digital fortress. This guide will walk you through the essential Wi-Fi router security settings you need to implement for comprehensive protection.
1. Change the Default Router Login Credentials: The First Line of Defense
Every router comes with a default username and password for accessing its administrative interface. These credentials are often publicly known and easily discoverable online. Leaving them unchanged is akin to leaving your front door unlocked.
- Why it’s crucial: Attackers can exploit these default credentials to gain full control of your router, change settings, and even install malicious firmware.
- How to do it:
- Access your router’s administrative interface by typing its IP address (commonly 192.168.1.1 or 192.168.0.1) into your web browser. Consult your router’s manual or search online for your specific model if unsure.
- Log in using the default username and password (again, found in your manual or online).
- Navigate to the “Administration,” “System,” or “Management” section.
- Locate the option to change the administrator password.
- Choose a strong, unique password. This should be a combination of uppercase and lowercase letters, numbers, and symbols, at least 12 characters long. Avoid using common words, personal information, or sequential characters.
- Consider changing the default username as well, though the password is the more critical element.
2. Enable WPA3 Encryption: The Modern Standard for Wireless Security
Wi-Fi Protected Access (WPA) is a security protocol designed to protect wireless computer networks. Over time, WPA has evolved to address vulnerabilities found in earlier versions.
- Why it’s crucial: WPA3 is the latest and most secure Wi-Fi encryption standard. It offers significant improvements over its predecessors, WPA2 and WPA, providing stronger protection against brute-force attacks and enhancing privacy. WPA2-AES is still a strong option if WPA3 is not available on your router or devices, but prioritize WPA3 whenever possible. Avoid WEP and WPA-PSK (TKIP) as they are outdated and highly vulnerable.
- How to do it:
- Access your router’s administrative interface.
- Look for the “Wireless,” “Wi-Fi,” or “Security” settings.
- Select your Wi-Fi network’s security mode. Choose “WPA3-Personal” or “WPA3-Mixed Mode” (if available for compatibility with older devices). If WPA3 isn’t an option, select “WPA2-Personal” with AES encryption.
- Create a strong Wi-Fi password (also known as a pre-shared key or passphrase). This password is what you’ll use to connect your devices to your Wi-Fi network. It should also be strong and unique, similar to your router login password.
3. Change Your Wi-Fi Network Name (SSID): Obscurity as a Security Measure
Your SSID (Service Set Identifier) is the name of your Wi-Fi network that appears in the list of available networks on your devices.
- Why it’s crucial: Default SSIDs often reveal the manufacturer or model of your router, which can give attackers a head start in identifying potential vulnerabilities. While not a primary security measure, changing your SSID makes your network less of an obvious target.
- How to do it:
- Access your router’s administrative interface.
- Go to the “Wireless” or “Wi-Fi” settings.
- Find the field for your SSID.
- Change it to something unique and not personally identifiable (e.g., avoid your name, address, or common phrases).
4. Disable WPS (Wi-Fi Protected Setup): A Known Vulnerability
WPS is a feature designed to simplify the process of connecting devices to a Wi-Fi network. However, it has known security vulnerabilities.
- Why it’s crucial: The WPS PIN, in particular, can be brute-forced by attackers to gain access to your network, even if you have a strong Wi-Fi password.
- How to do it:
- Access your router’s administrative interface.
- Look for “WPS” or “Wi-Fi Protected Setup” in the wireless or advanced settings.
- Disable the WPS feature entirely.
5. Enable the Firewall: Your Router’s Built-in Guardian
Most routers come with a built-in firewall that acts as a barrier between your network and the internet, controlling incoming and outgoing traffic.
- Why it’s crucial: A firewall can block unauthorized access attempts and prevent malicious software from spreading to your devices. Ensure it’s enabled and configured appropriately.
- How to do it:
- Access your router’s administrative interface.
- Navigate to the “Firewall” or “Security” section.
- Ensure the firewall is enabled. Many routers have pre-configured settings that offer good protection. Avoid disabling it unless absolutely necessary for a specific application, and understand the risks if you do.
6. Update Router Firmware Regularly: Patching Vulnerabilities
Router firmware is the software that controls your router’s operations. Like any software, it can have bugs and security vulnerabilities that manufacturers release updates to fix.
- Why it’s crucial: Outdated firmware is a significant security risk. Manufacturers regularly release patches to address newly discovered vulnerabilities. Failing to update leaves your router exposed to known exploits.
- How to do it:
- Access your router’s administrative interface.
- Look for a “Firmware Update,” “System Update,” or “Administration” section.
- Check for available updates. Many routers have an automatic update feature, which is highly recommended.
- If manual updates are required, download the latest firmware from your router manufacturer’s official website, ensuring you select the correct model. Follow the manufacturer’s instructions carefully during the update process.
7. Disable Remote Management: Preventing External Access
Remote management allows you to access your router’s settings from outside your local network. While convenient for some, it can be a security risk if not properly secured.
- Why it’s crucial: If remote management is enabled without proper security measures, attackers could potentially access your router from the internet.
- How to do it:
- Access your router’s administrative interface.
- Look for “Remote Management,” “Remote Access,” or “WAN Management” in the administration or advanced settings.
- Disable this feature unless you have a specific, well-understood need for it and have implemented strong security protocols.
8. Implement Network Segmentation (Guest Network): Isolating Visitors
Most modern routers offer the ability to create a separate guest network. This is a powerful tool for enhancing security.
- Why it’s crucial: A guest network allows visitors to access your internet connection without giving them access to your main network and your personal devices. This isolates them from your sensitive data and devices.
- How to do it:
- Access your router’s administrative interface.
- Look for “Guest Network,” “Guest Wi-Fi,” or similar settings.
- Enable the guest network.
- Give it a distinct SSID and a strong, unique password.
- Ensure that the guest network is configured to prevent access to your main network.
9. Enable MAC Address Filtering (Optional but Beneficial): A Layer of Control
MAC (Media Access Control) address filtering allows you to create a list of approved devices that can connect to your network.
- Why it’s crucial: While not foolproof (MAC addresses can be spoofed), it adds an extra layer of security by preventing unknown devices from connecting, even if they have your Wi-Fi password.
- How to do it:
- Access your router’s administrative interface.
- Find the “MAC Filtering” or “Access Control” section, usually under wireless or advanced settings.
- Enable MAC filtering and choose to either allow only devices on your list or block devices on your list.
- You will need to find the MAC address of each device you want to allow. This can usually be found in the network settings of your devices.
- Add the MAC addresses of your trusted devices to the allowed list.
10. Disable UPnP (Universal Plug and Play): Minimizing Attack Surfaces
UPnP allows devices on your network to automatically discover and connect to each other and to the internet. While convenient, it can also create security risks.
- Why it’s crucial: UPnP can automatically open ports on your router, which can be exploited by malware to gain access to your network.