
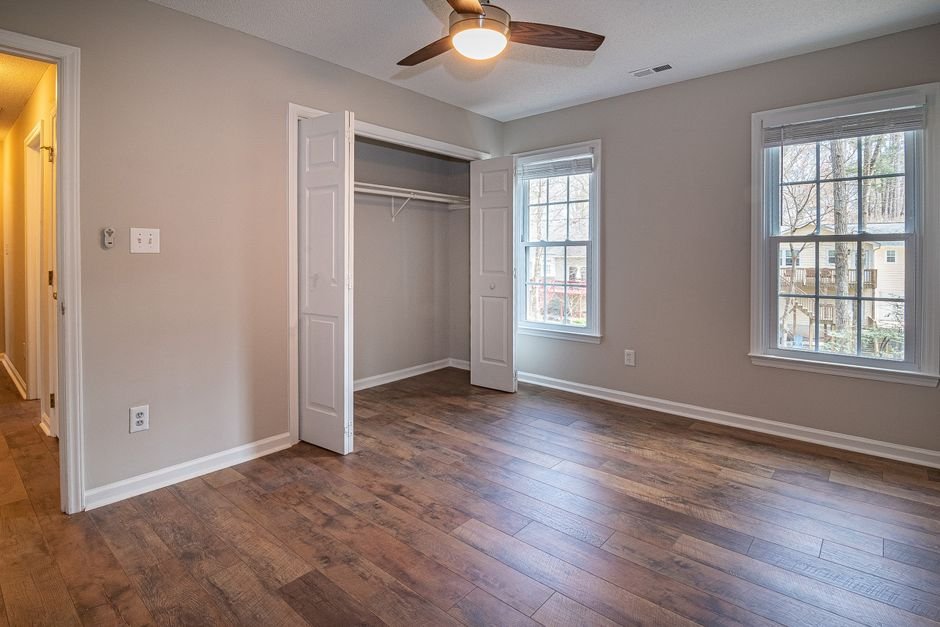
DIY Installation: Tips for Your New High-Speed Ceiling Fan
Upgrading your home’s comfort is often as simple as installing a new high-speed ceiling fan. These powerful yet stylish additions can dramatically improve air circulation, making rooms feel cooler in summer and helping to distribute warm air in winter. While professional installation is an option, a DIY approach can be incredibly rewarding and cost-effective. This comprehensive guide provides essential tips and steps to ensure a smooth and successful DIY installation of your new high-speed ceiling fan.
1. Safety First: The Paramount Importance of Electrical Work
Before you even unbox your fan, prioritize safety. Always turn off the power to the circuit you’ll be working on at the main breaker box. Don’t rely on just flipping the wall switch; this only disconnects the switch, not the entire circuit. Locate the correct breaker, flip it to the “off” position, and then verify the power is off at the fan’s location using a non-contact voltage tester. Touch the tester to the existing wires in the ceiling box. If it lights up or beeps, the power is still on. Double-check your breaker selection. For added security, place a piece of tape over the breaker switch to prevent accidental re-activation.
2. Assess Your Existing Ceiling Box: The Foundation of a Secure Mount
Not all ceiling electrical boxes are created equal. A standard light fixture box is often insufficient for the weight and vibration of a ceiling fan, especially a high-speed model. Your ceiling box must be rated for ceiling fan support. Look for markings on the box itself, often indicating “Acceptable for Fan Support.” If your existing box is not rated for fan support, you’ll need to replace it. This typically involves accessing the attic space above to secure a fan-rated brace directly to a ceiling joist or installing a retrofit fan brace between joists. This is a crucial step for preventing your fan from becoming a dangerous projectile.
3. Gather Your Tools and Materials: Be Prepared for Every Step
Having the right tools readily available will streamline the installation process and prevent frustrating interruptions. Essential tools include:
- Screwdrivers: Phillips and flathead, in various sizes.
- Wire Strippers/Cutters: For preparing electrical wires.
- Pliers: Needle-nose and lineman’s pliers are useful.
- Adjustable Wrench or Socket Set: For tightening mounting hardware.
- Ladder: A sturdy, stable ladder is non-negotiable. Ensure it’s tall enough to comfortably reach the ceiling.
- Non-Contact Voltage Tester: As mentioned, this is vital for safety.
- Drill and Drill Bits: May be needed for pilot holes or securing mounting hardware.
- Wire Nuts: To connect electrical wires securely.
- Electrical Tape: For reinforcing wire connections.
- Safety Glasses: Protect your eyes from dust and debris.
- Work Gloves: For better grip and hand protection.
- Manufacturer’s Instructions: Crucially, always refer to the specific installation manual that came with your fan. This guide provides general advice, but your fan’s manual will have model-specific details and diagrams.
4. Disconnecting the Old Fixture: A Careful Removal
Once the power is confirmed off, carefully remove your old light fixture. Unscrew any decorative globes or covers. You’ll typically find wires connected with wire nuts. Gently twist and remove the wire nuts. Note the color-coding of the wires (usually black for hot, white for neutral, and green or bare for ground). Take a picture or sketch the original wiring for reference, though your new fan’s wiring will likely follow standard conventions. Carefully lower the old fixture, ensuring you don’t strain any wires still connected to the ceiling box.
5. Installing the Mounting Bracket: The Fan’s Anchor
Your new high-speed ceiling fan will come with a specialized mounting bracket. This bracket attaches to the fan-rated ceiling box. Align the bracket with the screw holes in the ceiling box. Use the provided screws, ensuring they are the correct length and type for your box. Tighten these screws securely. A loose bracket will lead to a wobbly fan and potential safety hazards. If your ceiling box has threaded holes, use the screws that came with the fan. If your box has pass-through holes, you may need to use nuts and washers, again, referring to your fan’s manual for specific hardware.
6. Assembling the Fan Motor and Downrod: Building the Core
Most high-speed ceiling fans utilize a downrod to hang the motor from the ceiling bracket. This allows for optimal air circulation.
- Downrod Attachment: Feed the fan’s electrical wires from the motor housing through the downrod. Secure the downrod to the motor housing using the provided pins, screws, and any locking mechanisms. Ensure these are tightly fastened.
- Canopy and Decorative Cover: Slide the decorative canopy cover (which hides the wiring and mounting bracket at the ceiling) and then the canopy onto the downrod. These will be positioned later.
7. Hanging the Fan Motor: A Moment of Truth
This is where having a helper can be invaluable. Carefully lift the assembled fan motor and downrod. Most mounting brackets have a hook or a slot designed to temporarily hold the fan motor while you make the electrical connections. This frees up your hands. Ensure the fan is securely seated on this temporary support.
8. Wiring the Fan: The Heart of the Operation
This is the most critical electrical step. Refer to your fan’s specific wiring diagram. Generally, you’ll connect wires as follows:
- Ground Wire: Connect the green or bare copper ground wire from the ceiling box to the green ground wire on the fan motor.
- Neutral Wire: Connect the white neutral wire from the ceiling box to the white neutral wire from the fan motor.
- Hot Wire(s): This is where variations occur.
- Single Switch: If your old fixture was controlled by a single switch, you’ll connect the black hot wire from the ceiling box to the black wire from the fan. If your fan has separate wires for light and fan (often blue for light, black for fan), you’ll need to decide if you want them controlled by the same switch or separate switches. For a single switch controlling both, connect the ceiling hot wire to both the fan and light hot wires on the fan.
- Dual Switches: If you have two switches controlling your old fixture (one for light, one for fan), you’ll connect the corresponding hot wires from the ceiling to the fan’s respective hot wires.
- Wire Nuts: Twist the stripped ends of the wires together firmly and then screw on a wire nut. Give each wire a gentle tug to ensure a secure connection. Wrap the wire nut and connection with electrical tape for added security.
Important Note: If your fan includes a remote control receiver, it will likely be a separate module that needs to be wired in between the ceiling wiring and the fan motor wiring. Follow the receiver’s specific instructions meticulously.
9. Securing the Fan Motor to the Ceiling Bracket: The Final Mount
Once the wiring is complete and secured, carefully lift the fan motor off its temporary hook and align it with the mounting bracket. Slide the canopy cover up to the ceiling, concealing the wiring and bracket. Secure the fan motor to the bracket using the provided screws. Again, tighten these screws firmly and evenly.
10. Attaching the Fan Blades: The Air Movers
Most high-speed fans have blades that attach to blade irons (brackets) and then to the motor housing.
- Blade Iron to Blade: Attach each fan blade to its corresponding blade iron using the screws provided. Ensure they are snug but don’t overtighten, which could strip the threads.
- Blade Iron to Motor: Attach the blade irons (with blades now attached) to the motor housing. These usually screw into pre-drilled holes on the motor. Make sure all screws are tight for balanced operation.
11. Installing the Light Fixture (if applicable): Adding Illumination
If your fan includes a light kit, follow the manufacturer’s instructions for its assembly and wiring. This typically involves connecting a few more wires and then attaching the light fixture to the fan motor housing. Install light bulbs and any decorative glass shades.
12. Testing Your New Fan: The Moment of Truth
With all physical connections made and the power still off, double-check all your wiring and ensure everything is securely fastened. Now, return to your breaker box and turn the power back on.
- Low Speed Test: Turn on the wall switch and test the fan at its lowest speed setting. Listen for any unusual noises or wobbling.
- Speed Progression: Gradually increase the fan speed, listening and observing at each setting.
- Light Test: If your fan has a light, test its functionality.
13. Troubleshooting Wobble: Common Issues and Solutions
A slight wobble is sometimes normal, especially at higher speeds, but excessive wobbling indicates a problem.
- Check Blade Tightness: Ensure all blade screws and blade iron screws are tight.
- Check Mounting Bracket: Verify the mounting bracket is securely fastened to the ceiling box.
- Check Ceiling Box: Confirm the ceiling box is fan-rated and securely mounted to a joist or brace.
- Balancing Kit: Most fans come with a balancing kit, which includes small weights and clips