
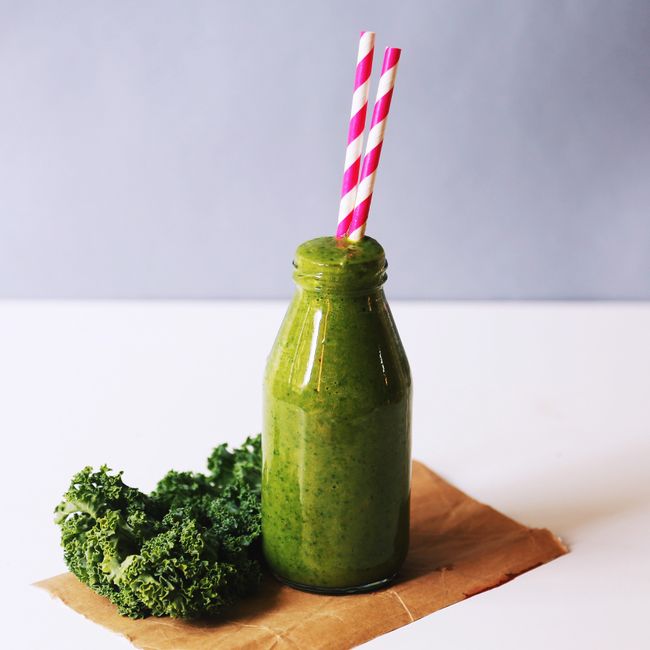
Gleaming Juicer, Vibrant Life: Quick & Simple Cleaning Tips for Optimal Performance
Your juicer, a champion of health and a gateway to nutrient-rich elixirs, deserves a little TLC to keep it performing at its peak. Beyond mere aesthetics, a clean juicer is crucial for hygiene, preventing flavor contamination, and extending the lifespan of your appliance. Neglecting this vital step can lead to a breeding ground for bacteria, unpleasant odors, and a diminished juicing experience. Fear not, for achieving a spotless juicer is far less daunting than you might imagine. This guide offers quick, simple, and effective cleaning tips to ensure your juicer remains a gleaming testament to your healthy lifestyle.
The Immediate Post-Juicing Rinse: Your First Line of Defense
The golden rule of juicer cleaning? Do it immediately. The longer fruit and vegetable pulp, seeds, and juice residue sit, the more they harden and adhere to surfaces, transforming a simple rinse into a laborious scrub. As soon as you’ve enjoyed your last drop of fresh juice, disassemble your juicer (refer to your manual for specific instructions) and head to the sink.
- Disassemble with Care: Gently take apart all removable parts. This typically includes the juicing bowl, pulp collector, lid, filter/strainer, and any augers or pressing mechanisms.
- The Power of Cold Water: Fill your sink or a large basin with cold water. Avoid hot water initially, as it can cook on sugars and starches, making them harder to remove.
- Rinse Thoroughly: Under running cold water, rinse each component, dislodging as much loose pulp and juice as possible. Pay close attention to nooks and crannies, such as the underside of the lid and the inside of the pulp collector.
- Scrape Away Stubborn Bits: For any remaining stubborn pulp, use a soft sponge or a silicone spatula. The spatula is particularly effective for scraping the inside of the juicing bowl and the pulp collector without scratching.
Deep Cleaning: Tackling Tough Residue
While the immediate rinse handles most of the daily grime, occasional deep cleaning is essential to banish stubborn stains, odors, and buildup.
1. The Gentle Scrub: For Daily Grime and Light Stains
For everyday cleaning, a mild dish soap and a soft brush or sponge are your best friends.
- Warm Water and Mild Dish Soap: Fill your sink with warm water and add a few drops of mild dish soap.
- Soft Brush or Sponge: Use a non-abrasive sponge or a dedicated juicer cleaning brush. Many juicers come with a specialized brush for their filters.
- Focus on the Filter/Strainer: This is often the most challenging part. The mesh of the filter can trap fine pulp and juice. Gently scrub both the inside and outside of the filter with your brush, ensuring you reach every strand of the mesh.
- Wipe Down Other Parts: Wipe down the juicing bowl, lid, and pulp collector with the soapy water and sponge.
- Rinse Thoroughly: Rinse all parts completely with clean water to remove all soap residue.
2. The Power of Baking Soda: For Odor and Stain Removal
Baking soda is a natural deodorizer and a gentle abrasive, making it perfect for tackling lingering smells and tough stains, especially from brightly colored fruits and vegetables like beets and berries.
- Baking Soda Paste: Mix baking soda with a small amount of water to create a paste.
- Apply and Let Sit: Apply the paste to any stained areas or areas with persistent odors. For the filter, you can even soak it in a baking soda and water solution. Let it sit for 15-30 minutes.
- Gentle Scrub: After soaking or sitting, gently scrub the paste into the stained areas with your soft brush or sponge.
- Rinse and Repeat if Necessary: Rinse thoroughly. For very stubborn stains, you might need to repeat the process.
3. The Vinegar Solution: For Mineral Deposits and Disinfection
Vinegar is an excellent natural disinfectant and helps break down mineral deposits that can accumulate over time, especially if you have hard water.
- Vinegar and Water Mixture: Mix equal parts white vinegar and water.
- Soaking Method: For the filter and other smaller parts, soak them in the vinegar solution for 30 minutes to an hour.
- Wiping Method: For larger parts like the juicing bowl, you can wipe them down with the vinegar solution.
- Rinse Extensively: It’s crucial to rinse thoroughly with clean water after using vinegar to eliminate any lingering smell or taste. You may want to do a final rinse with plain water to be absolutely sure.
4. Lemon Power: For Freshness and Mild Cleaning
Lemon juice offers a refreshing scent and mild cleaning properties. It can help cut through grease and leave your juicer smelling fresh.
- Juice a Lemon: After cleaning with soap and water, run half a lemon through your juicer.
- Follow with a Rinse: This will help to flush out any remaining residue and leave a pleasant citrus aroma. Follow up with a quick rinse of the juicing parts.
Special Considerations for Different Juicer Types:
- Centrifugal Juicers: These are generally the easiest to clean. Focus on the wide mesh strainer basket and the pulp chute. The immediate rinse is your best friend here.
- Masticating (Slow) Juicers: These often have more intricate parts, including augers and screens. Ensure you thoroughly clean the auger, as pulp can get lodged in its threads. A small brush is invaluable for reaching these tight spots.
- Twin Gear Juicers: These are known for their efficiency but can be more complex to clean. Pay close attention to the gears, ensuring no pulp remains between them. Dedicated cleaning brushes are often necessary.
Drying: The Crucial Final Step
Proper drying is as important as cleaning to prevent mold and mildew growth.
- Air Dry Completely: After rinsing, shake off excess water from each component and place them on a drying rack or a clean towel. Ensure good air circulation around each part.
- Avoid Direct Sunlight: While sunlight can be a natural disinfectant, prolonged exposure can degrade plastic components.
- Towel Dry if Necessary: If you’re in a hurry, gently towel dry all parts with a clean, lint-free cloth. Ensure every crevice is dry.
- Reassemble Only When Dry: Never reassemble a damp juicer. This can trap moisture and lead to odor issues.
Maintenance and Prevention:
- Invest in a Good Cleaning Brush Set: A set of small brushes of varying sizes and stiffness will make cleaning the intricate parts of your juicer significantly easier.
- Read Your Juicer’s Manual: Always refer to your juicer’s specific cleaning instructions. Some manufacturers have unique recommendations for their models.
- Don’t Let It Sit: We can’t stress this enough. The “clean immediately” rule is the most effective preventative measure.
- Disassemble Fully: Ensure you’re taking apart every washable component for a thorough clean.
- Regular Deep Cleans: Aim for a deep clean at least once a week, or more often if you use your juicer daily.
By incorporating these quick and simple cleaning tips into your routine, you’ll not only maintain a sparkling clean juicer but also ensure every glass of juice is as fresh, flavorful, and hygienic as possible. A well-cared-for juicer is a happy juicer, and a happy juicer means a healthier you.