
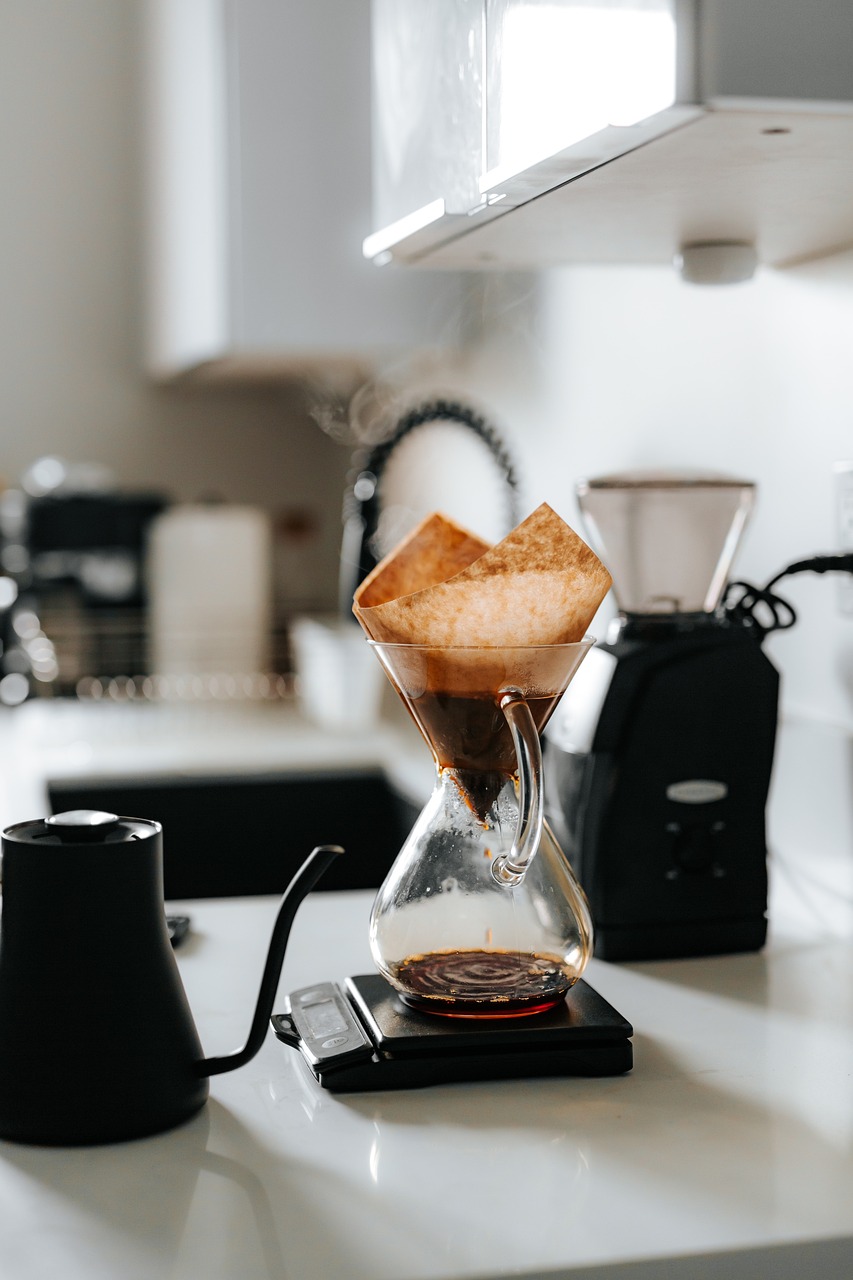
Brewing Cold Coffee with Your Electric Kettle: A Simple Guide
The allure of cold coffee, a refreshing antidote to sweltering days and a delightful afternoon pick-me-up, often conjures images of elaborate brewing methods and specialized equipment. However, the truth is far simpler. You don’t need a dedicated cold brew maker or a weekend dedicated to steeping. With a common kitchen appliance – your trusty electric kettle – you can unlock the secrets to delicious, smooth cold coffee with surprising ease. This guide will demystify the process, empowering you to craft perfect cold coffee beverages right in your own home.
The fundamental principle behind cold coffee brewing, regardless of method, is the gentle extraction of flavor from coffee grounds without the harshness that can arise from hot water. Hot water extracts volatile oils and acids more rapidly, which can lead to a bitter or astringent taste. Cold water, on the other hand, extracts these compounds much more slowly, resulting in a smoother, sweeter, and less acidic profile. While traditional cold brew involves a long, room-temperature steep, your electric kettle offers a shortcut that leverages its precise temperature control to achieve a similar, albeit faster, result.
Understanding the Science: Why Your Electric Kettle Works
Your electric kettle, capable of heating water to specific temperatures, is the key to this simplified cold coffee approach. Instead of a prolonged cold steep, we’ll be using warm water, but at a significantly lower temperature than traditional hot brewing. This “warm” water acts as a gentler solvent, extracting desirable coffee compounds without scalding the grounds. The magic lies in finding that sweet spot – hot enough to initiate extraction, but cool enough to avoid bitterness. We’re essentially creating a “flash steep” or a “Japanese-style iced coffee” precursor.
Essential Ingredients and Equipment
To embark on your electric kettle cold coffee journey, you’ll need a few key items:
- Your Electric Kettle: The star of the show. Ensure it has a temperature control feature for optimal results. If yours doesn’t, you can manually heat water and let it cool to the desired temperature.
- Quality Coffee Beans: This is paramount. The flavor of your cold coffee will be directly influenced by the quality of your beans. Opt for freshly roasted, whole beans. Consider medium to dark roasts for a richer flavor profile, but experiment with lighter roasts if you prefer a more nuanced and fruity cup.
- A Grinder: A burr grinder is highly recommended for a consistent grind size, which is crucial for even extraction. A blade grinder can work, but aim for a coarse, uniform texture.
- A Filter: You’ll need a way to separate the coffee grounds from your brewed liquid. Options include:
- Pour-over dripper (e.g., V60, Chemex) with paper filters: This offers excellent clarity and control.
- French press: A simple and effective method, though it can result in a slightly more sediment-heavy cup.
- Fine-mesh sieve: A basic option for separating grounds.
- A Container for Brewing: A mason jar, a pitcher, or a French press carafe will work perfectly.
- Ice: Plenty of ice for chilling your coffee.
- Water: Filtered water is ideal for the cleanest taste.
The Step-by-Step Electric Kettle Cold Coffee Method
This method is designed for efficiency and delicious results. We’ll be aiming for a concentrated coffee base that you can dilute to your preference.
Step 1: Grind Your Beans
The grind size is critical for this method. You want a coarse grind, similar to what you’d use for a French press. This prevents over-extraction with the warm water and makes filtering easier. If the grind is too fine, you risk a bitter, muddy brew. Grind your beans just before brewing for maximum freshness. A good starting point is about 1:15 coffee to water ratio for the concentrate, meaning for every gram of coffee, use 15 grams of water. For a typical batch, this might be around 50-60 grams of coffee to 750-900 grams of water.
Step 2: Heat Your Water
This is where your electric kettle shines. Set your kettle to a temperature between 160°F and 175°F (71°C and 79°C). Lower temperatures will result in a lighter, more delicate flavor, while higher temperatures will yield a bolder, more robust profile. Avoid exceeding 180°F (82°C) to prevent bitterness. If your kettle lacks precise temperature control, heat water to just before boiling and let it sit for 2-3 minutes to cool down into this range.
Step 3: Bloom the Coffee (Optional but Recommended)
If using a pour-over method, place your filter in the dripper and rinse it with a little hot water to remove any papery taste and preheat the brewer. Discard this rinse water. Add your coarsely ground coffee to the filter or your brewing vessel.
Carefully pour just enough of the heated water over the grounds to saturate them. This is called the “bloom.” You’ll see the coffee grounds expand and release carbon dioxide. Let it sit for about 30 seconds. This step allows for a more even extraction by preparing the grounds.
Step 4: The Gentle Pour and Steep
Now, slowly and evenly pour the remaining warm water over the coffee grounds. If using a pour-over, pour in slow, concentric circles, ensuring all grounds are wetted. If using a French press, pour the water directly into the carafe.
The steeping time is significantly shorter than traditional cold brew. Aim for 4 to 6 minutes. This is enough time for the warm water to extract the desirable flavors without over-extracting the bitter compounds.
Step 5: Filter and Chill
- Pour-over: Once the 4-6 minutes have passed, let the coffee drip through the filter into your waiting container.
- French press: Gently press down the plunger to separate the grounds from the liquid. Be careful not to press too hard, as this can agitate the grounds and release bitterness.
You now have a concentrated coffee base. Fill a glass with plenty of ice. Pour your concentrated coffee over the ice.
Step 6: Dilute to Taste
This is where you customize your cold coffee. Add cold water, milk (dairy or non-dairy), or your preferred creamer to dilute the concentrate to your desired strength and flavor. Start with a 1:1 ratio of concentrate to water/milk and adjust from there.
Tips for Elevating Your Electric Kettle Cold Coffee
- Experiment with Ratios: Don’t be afraid to play with the coffee-to-water ratio in both the brewing stage and the dilution stage. Find what suits your palate.
- Bean Variety: Different beans will yield vastly different flavor profiles. Explore single-origin beans or blends to discover your favorites for cold coffee.
- Water Quality: As mentioned, filtered water makes a noticeable difference. Avoid tap water with strong mineral tastes.
- Storage: If you make a larger batch of concentrate, store it in an airtight container in the refrigerator for up to 3-4 days. The flavor will degrade over time, so it’s best to brew what you’ll consume within a couple of days.
- Sweeteners and Flavorings: Once brewed and diluted, you can add sweeteners like simple syrup, honey, or maple syrup. Consider adding a splash of vanilla extract, a sprinkle of cinnamon, or even a pinch of sea salt to enhance the flavor.
- Milk Matters: The type of milk you use will significantly impact the final taste. Whole milk adds richness, while oat milk or almond milk offer different flavor nuances.
Troubleshooting Common Issues
- Bitter Coffee: This is usually due to water that is too hot, the grind being too fine, or steeping for too long. Re-evaluate your temperature, grind size, and steep time.
- Weak Coffee: Your grind might be too coarse, or you may not have used enough coffee. Increase the coffee amount or consider a slightly finer grind.
- Muddy Coffee (especially with French press): Your grind is likely too fine, or you pressed the plunger too aggressively.
Beyond the Basic Brew: Variations and Enhancements
The beauty of this method lies in its adaptability. Once you’ve mastered the basic technique, you can explore exciting variations:
- Cold Coffee Concentrate for Espresso-Style Drinks: By using a slightly higher coffee-to-water ratio in the brewing stage and a finer grind (but still coarser than espresso), you can create a potent concentrate that, when diluted with steamed milk, approximates an iced latte or cappuccino.
- Infused Cold Coffee: Before brewing, consider adding aromatics like cinnamon sticks, star anise, or citrus peels to your coffee grounds. The warm water will gently extract their essence, creating a uniquely flavored cold coffee.
- Nitro Cold Brew (with a twist): While true nitro cold brew requires specialized equipment, you can achieve a creamy, frothy texture by vigorously shaking your diluted cold coffee with a splash of milk in a sealed jar. This introduces micro-bubbles, mimicking the mouthfeel of nitro.
Embracing your electric kettle for cold coffee brewing opens a world of delicious possibilities. It’s a testament to how simple kitchen tools, combined with a little understanding of coffee’s nuances, can deliver exceptional results. Forget