The Ultimate Guide to Air Conditioner Maintenance: Ensuring Peak Performance and Longevity
Maintaining your air conditioner is not merely a chore; it’s an investment in comfort, efficiency, and the lifespan of a crucial home appliance. Neglecting regular AC maintenance can lead to a cascade of problems, from soaring energy bills and diminished cooling power to costly breakdowns and premature unit replacement. This comprehensive guide delves into every facet of AC upkeep, empowering you to keep your system running optimally, saving you money, and ensuring a consistently cool and comfortable environment throughout the year.
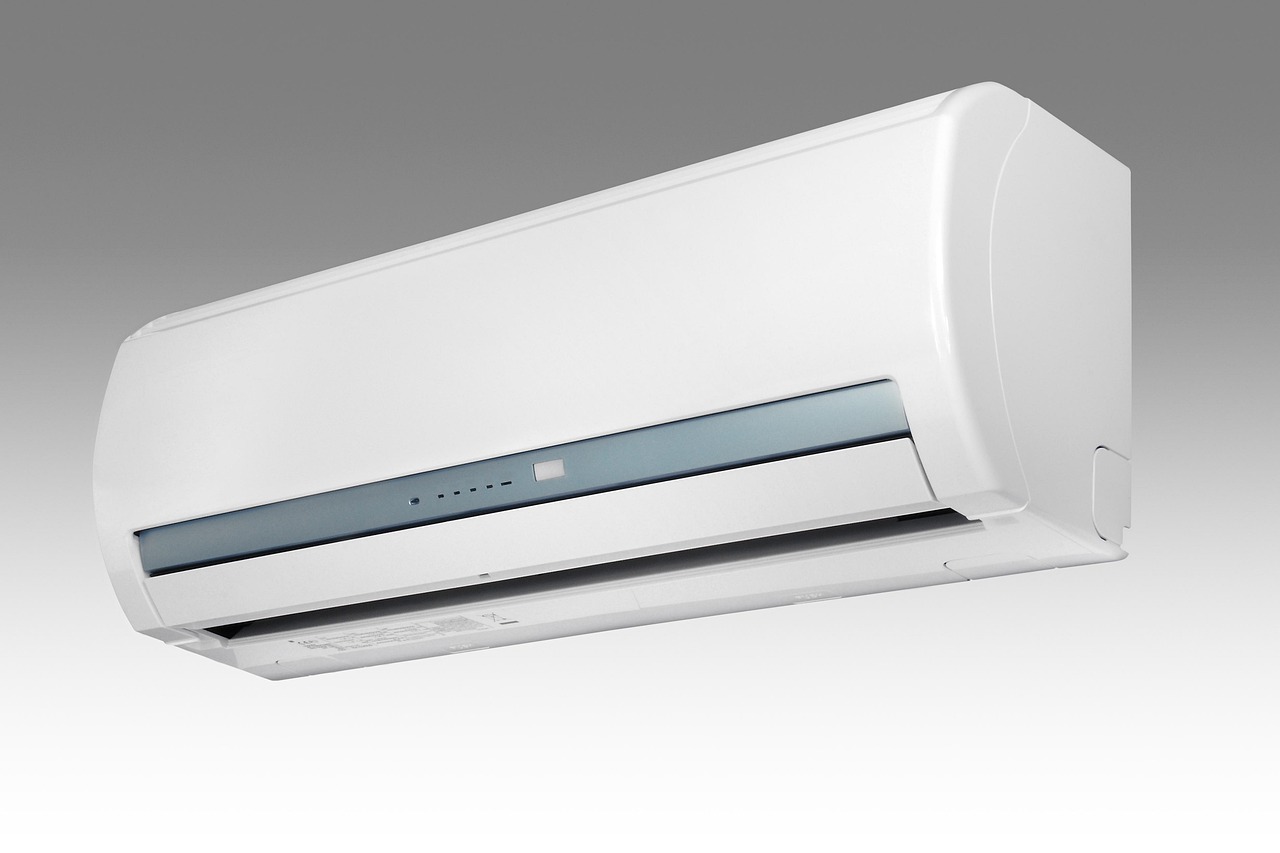
Understanding Your Air Conditioner’s Anatomy: The Foundation of Maintenance
Before diving into specific tasks, a basic understanding of your AC unit’s components is essential. Your central air conditioning system typically consists of two main parts: the indoor unit (evaporator coil and air handler) and the outdoor unit (condenser and compressor). The evaporator coil, located within your air handler (often in the attic or basement), absorbs heat from the indoor air. The condenser unit, situated outside, releases this absorbed heat into the atmosphere. The compressor, the “heart” of the system, circulates refrigerant, enabling the heat transfer process. Other vital components include the thermostat, which controls temperature, the air filter, which cleans the air, and the drainage system, which removes condensation. Familiarizing yourself with these parts will make maintenance tasks more intuitive.
The Cornerstone of AC Care: The Air Filter – Your First Line of Defense
The air filter is arguably the most critical component for regular AC maintenance. Its primary function is to trap dust, pollen, pet dander, and other airborne particles, preventing them from circulating throughout your home and, more importantly, from accumulating on the evaporator coil. A clogged filter significantly impedes airflow, forcing your AC to work harder to achieve the desired temperature. This increased workload translates directly to higher energy consumption and a shorter lifespan for your unit.
Frequency of Replacement: The general recommendation is to replace or clean your air filter every 1 to 3 months. However, this can vary based on several factors:
- Household Size: Larger families with more occupants tend to produce more dust and dander.
- Pet Ownership: Homes with pets require more frequent filter changes.
- Allergies and Asthma: Individuals with respiratory sensitivities should opt for more frequent replacements to maintain optimal indoor air quality.
- Environmental Factors: If you live in a dusty area or experience frequent construction nearby, your filter will clog faster.
- Filter Type: High-efficiency filters (MERV 11-13) may require less frequent replacement than basic fiberglass filters, but always check the manufacturer’s recommendations.
How to Replace/Clean: Locate your air filter, typically found in the return air duct or within the air handler. Note the airflow direction arrow on the filter. Remove the old filter and insert the new one, ensuring the arrow points in the correct direction. If you have a washable filter, follow the manufacturer’s instructions for cleaning, which usually involves rinsing with water and allowing it to dry completely before reinstallation.
Outdoor Unit (Condenser) Maintenance: Keeping the Heat Exchanger Clear
The outdoor unit plays a crucial role in dissipating heat. Its fins, which resemble radiator fins, are responsible for this heat exchange. Over time, these fins can become clogged with debris like leaves, grass clippings, dirt, and even cottonwood seeds, hindering their ability to release heat effectively.
Cleaning the Condenser Unit:
- Safety First: Always turn off the power to your outdoor unit at the breaker box before commencing any cleaning. This is paramount for your safety.
- Clear Debris: Manually remove any large debris from around the unit. Trim back any vegetation that is growing too close, ensuring at least two feet of clearance on all sides for proper airflow.
- Rinse the Fins: Use a garden hose with a gentle spray setting to rinse the condenser fins from the inside out. This helps to push accumulated dirt and debris away from the unit. Avoid using high-pressure washers, as they can bend or damage the delicate fins.
- Fin Straightening (Optional): If you notice bent fins, you can gently straighten them using a fin comb, available at most hardware stores. Be very careful not to damage the fins further.
- Inspect for Damage: While cleaning, take the opportunity to inspect the unit for any visible signs of damage, such as loose wires, cracked casings, or refrigerant leaks (often indicated by oily residue).
Indoor Unit (Evaporator Coil) Maintenance: The Unsung Hero of Cooling
The evaporator coil is where the magic of cooling happens. It absorbs heat from the air circulating through your home. If the air filter is not doing its job effectively, dust and debris will eventually settle on the evaporator coil. This buildup acts as an insulator, significantly reducing its ability to absorb heat, leading to poor cooling performance and potential freezing of the coil.
Cleaning the Evaporator Coil:
- Access: Accessing the evaporator coil can be more challenging than the condenser unit and may require disassembling parts of the air handler. If you are not comfortable with this, it’s best to leave this task to a qualified HVAC technician.
- Gentle Cleaning: If you decide to proceed, ensure the power is off. Use a soft brush or a vacuum cleaner with a brush attachment to gently remove loose debris.
- Coil Cleaner (Optional): For a more thorough cleaning, you can use a specialized no-rinse evaporator coil cleaner. These cleaners are typically sprayed onto the coil and then evaporate, carrying away dirt and grime. Follow the product instructions carefully.
- Drain Pan and Line Inspection: While you’re in the vicinity of the evaporator coil, inspect the condensate drain pan and line. This system removes the moisture condensed from the air. Ensure the pan is not cracked or overflowing and that the drain line is not clogged. A clogged drain line can lead to water damage and mold growth. You can often clear minor clogs by flushing the line with water or a diluted bleach solution (follow manufacturer recommendations).
The Importance of Proper Drainage: Preventing Water Damage and Mold
The condensation that forms on the evaporator coil needs to be effectively removed from your home. This is the job of the condensate drain system, consisting of a drain pan and a drain line. A clogged drain line is a common AC problem that can lead to:
- Water Damage: Overflowing drain pans can cause significant water damage to ceilings, walls, insulation, and flooring.
- Mold and Mildew Growth: Standing water in the drain pan or around the air handler creates an ideal breeding ground for mold and mildew, which can negatively impact indoor air quality and pose health risks.
- System Shutdown: Some modern AC units have safety float switches that will shut down the system if the drain line becomes clogged and the pan begins to fill, preventing further damage.
Maintaining the Drainage System:
- Regular Visual Inspection: Periodically check the drain pan for standing water or debris.
- Flush the Drain Line: Once a year, consider flushing the condensate drain line with a mixture of water and vinegar or a diluted bleach solution (check your AC manual for specific recommendations). This helps to prevent algae and slime buildup.
- Professional Cleaning: If you suspect a persistent clog or are uncomfortable performing this task, schedule a professional cleaning.
Ductwork Inspection and Sealing: Maximizing Airflow Efficiency
Your ductwork is the network of channels that delivers conditioned air throughout your home. Leaky or damaged ducts can lead to significant energy loss, reducing the efficiency of your AC system.
Key Considerations:
- Visual Inspection: Periodically inspect accessible ductwork for any visible tears, holes, or disconnected sections.
- Sealing Leaks: Use mastic sealant or specialized HVAC foil tape to seal any identified leaks. Standard duct tape is not recommended as it degrades over time.
- Insulation: Ensure that ductwork running through unconditioned spaces (like attics or crawl spaces) is adequately insulated to prevent heat gain or loss.
- Professional Assessment: For a comprehensive assessment of your ductwork’s integrity and efficiency, consider a professional duct inspection and sealing service.
Thermostat Optimization: Smart Control for Smart Savings
Your thermostat is the command center for your AC. Optimizing its settings can lead to substantial energy savings without sacrificing comfort.
Best Practices:
- Programmable Thermostat: If you have a programmable thermostat, take advantage of its features. Set higher temperatures when you are away from home or asleep. Even a few degrees can make a difference.
- Smart Thermostats: Consider upgrading to a smart thermostat. These devices learn your habits and can automatically adjust temperatures for optimal comfort and energy savings. Many can be controlled remotely via your smartphone.
- Avoid Constant Adjustments: Resist the urge to constantly adjust the thermostat up and down. This makes your AC work harder and less efficiently. Set it to your desired temperature and let it do its job.
- Placement: Ensure your thermostat is not located near heat sources (like direct sunlight, lamps, or heat-generating appliances) or drafts, as this can lead to inaccurate temperature readings.
Annual Professional HVAC Tune-Up: The Ultimate Maintenance Strategy
While DIY maintenance is crucial, a professional annual tune-up by a qualified HVAC technician is indispensable. These professionals have the expertise, tools, and diagnostic equipment to identify and address potential issues that you might overlook.
What a Professional Tune-Up Typically Includes:
- Comprehensive System Check: Thorough inspection of all AC components,