
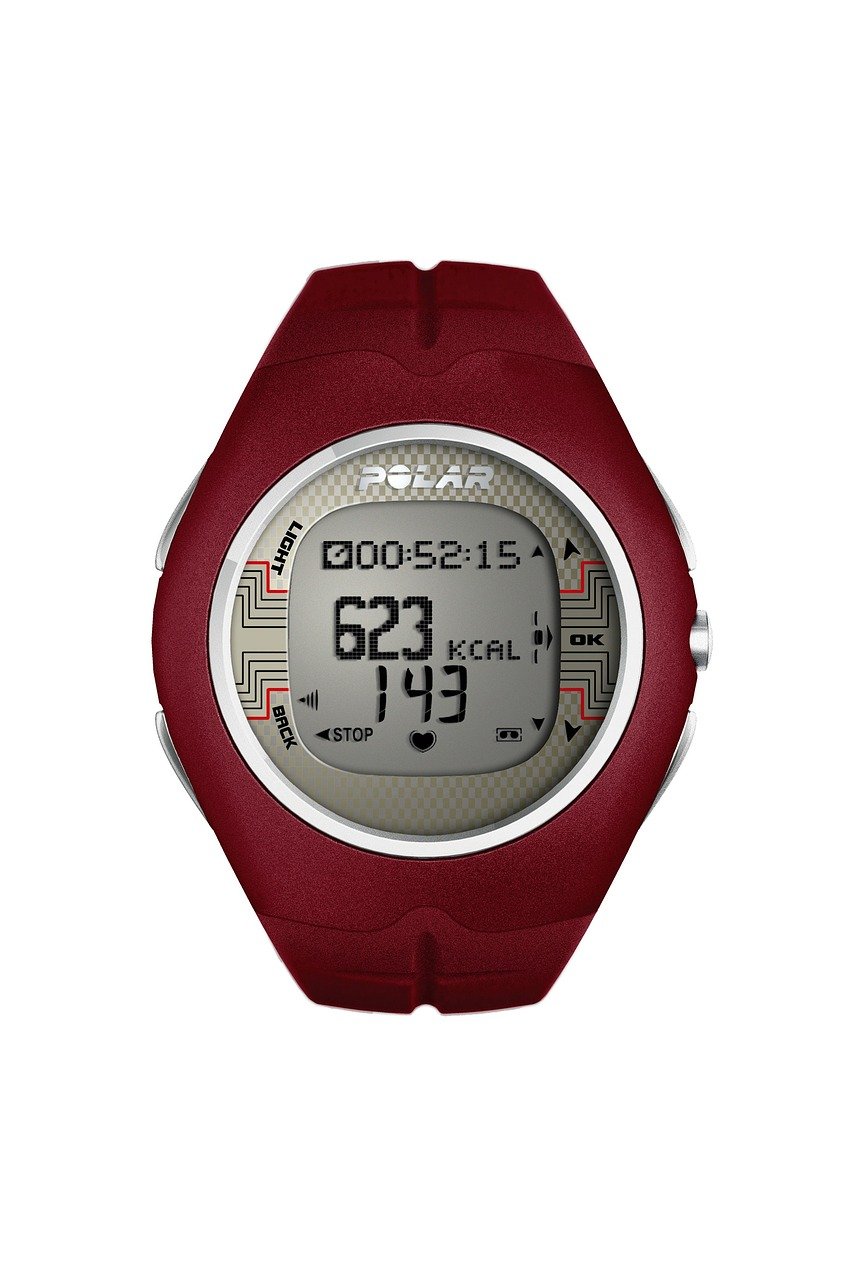
Unlock Your Fitness Potential: Mastering Workouts with a Heart Rate Monitor Band
In the pursuit of optimal fitness, data reigns supreme. While subjective feelings of exertion can be a guide, understanding your body’s physiological response during exercise offers a far more precise and effective path to achieving your goals. Enter the heart rate monitor band, a powerful tool that transforms your workouts from guesswork into a science-backed endeavor. This article delves deep into how to leverage this wearable technology to its fullest, ensuring every sweat session is as productive and personalized as possible.
Understanding Your Heart Rate Zones: The Foundation of Effective Training
At its core, a heart rate monitor band tracks your pulse, translating it into actionable insights. The most crucial concept to grasp is heart rate zones. These are specific ranges of your maximum heart rate (MHR) that correspond to different physiological benefits. Knowing your zones allows you to tailor your intensity to target specific outcomes, whether it’s burning fat, improving cardiovascular endurance, or boosting anaerobic capacity.
Calculating your MHR is the first step. A common, albeit generalized, formula is 220 minus your age. For example, a 30-year-old would have an estimated MHR of 190 beats per minute (bpm). However, for greater accuracy, consider a supervised stress test or a submaximal field test. Once you have your MHR, you can define your zones:
- Zone 1 (Very Light): 50-60% of MHR. Primarily for recovery and warm-ups.
- Zone 2 (Light): 60-70% of MHR. The “fat-burning” zone. Ideal for longer, steady-state cardio and active recovery. You can hold a conversation easily.
- Zone 3 (Moderate): 70-80% of MHR. Improves aerobic fitness and endurance. Breathing becomes more noticeable, and conversation is possible but requires effort.
- Zone 4 (Hard): 80-90% of MHR. Enhances anaerobic threshold and performance. You can only speak in short phrases.
- Zone 5 (Maximum): 90-100% of MHR. For peak performance and short bursts of intense effort. Sustaining this zone is extremely difficult and only recommended for short intervals.
Optimizing Fat Burning: The Power of Zone 2
Many individuals associate intense workouts with maximum calorie burn. While high-intensity intervals do burn a significant number of calories, the percentage of fat burned is often higher during lower-intensity exercise. This is where Zone 2 shines. By spending a substantial portion of your cardio sessions in this zone, you train your body to become more efficient at utilizing fat as a fuel source. This is particularly beneficial for individuals looking to reduce body fat. Think of long, steady runs, cycling at a comfortable pace, or even brisk walking. Your heart rate monitor band will be your constant companion, ensuring you stay within this crucial range.
Boosting Cardiovascular Health and Endurance: Embracing Zones 3 and 4
To build a robust cardiovascular system and improve your stamina, you need to challenge your heart. Zones 3 and 4 are your allies here. Regularly pushing into Zone 3 improves your aerobic capacity, meaning your body becomes better at delivering oxygen to your muscles. This translates to being able to sustain activity for longer periods without fatiguing.
Zone 4 is where you truly push your anaerobic threshold. By training in this zone, you increase your lactate threshold, allowing you to perform at higher intensities for longer before experiencing the burning sensation associated with lactic acid buildup. Incorporating interval training, where you alternate between periods of high intensity (Zone 4) and recovery (Zone 2 or 3), is a highly effective strategy for maximizing these benefits. Your heart rate monitor band provides real-time feedback, allowing you to adjust your pace to hit these target zones accurately.
Maximizing Performance: The Strategic Use of Zone 5
Zone 5 is reserved for the most demanding efforts and is crucial for athletes aiming for peak performance. This zone is about pushing your limits and improving your body’s ability to handle extreme exertion. However, it’s essential to approach Zone 5 training with caution. It places significant stress on your body and requires adequate recovery.
High-intensity interval training (HIIT) often incorporates short bursts into Zone 5. These could be sprints, powerful jumps, or very short, intense bursts on a bike. The key is to keep these intervals brief, typically 10-30 seconds, followed by extended recovery periods. Your heart rate monitor band is indispensable here, helping you confirm you’ve reached the desired intensity and ensuring you don’t overextend yourself, which could lead to injury or burnout.
Beyond the Workout: Recovery and Heart Rate Variability (HRV)
The benefits of a heart rate monitor band extend beyond the immediate workout. Understanding Heart Rate Variability (HRV), the variation in time between heartbeats, offers profound insights into your body’s recovery status and readiness to train. A higher HRV generally indicates a more resilient nervous system and better recovery.
Many advanced heart rate monitor bands and accompanying apps can track your HRV. By monitoring your HRV trends, you can:
- Gauge Recovery: A significantly lower HRV than your baseline can signal that your body is still recovering from previous training or experiencing stress (lack of sleep, poor nutrition, illness). This allows you to adjust your training intensity or opt for a rest day, preventing overtraining.
- Optimize Training Load: By correlating HRV with your training data, you can identify the optimal training load that promotes adaptation without causing excessive fatigue.
- Identify Stressors: Fluctuations in HRV can also highlight other stressors in your life, such as poor sleep, dehydration, or even mental stress, prompting you to address these areas.
Personalizing Your Training Plan: The Role of Data Analysis
The true power of a heart rate monitor band lies in its ability to generate data. Most devices sync with smartphone apps that offer detailed analytics. Don’t just glance at your heart rate during a workout; dive into the post-workout reports. Look for:
- Time Spent in Each Zone: Analyze how much time you spent in each heart rate zone during your workout. Was it aligned with your intended goals?
- Average and Peak Heart Rate: Understand your typical exertion levels and any peaks you reached.
- Calorie Burn Estimation: While these are estimates, they can provide a general idea of your energy expenditure.
- Trends Over Time: Track your progress. Are your resting heart rate decreasing? Are you able to sustain higher intensities for longer? Is your HRV improving?
This data allows you to refine your training plan. If you consistently fail to reach Zone 4 during your interval sessions, you might need to increase the intensity of your work intervals or shorten your recovery periods. Conversely, if your Zone 2 sessions are consistently pushing you into Zone 3, you might be starting too fast or need to adjust your perceived exertion.
Choosing the Right Heart Rate Monitor Band
With a plethora of options available, selecting the right heart rate monitor band is crucial. Consider these factors:
- Accuracy: Chest strap monitors are generally considered the most accurate for continuous heart rate tracking, especially during intense activities. Wrist-based optical sensors have improved significantly but can sometimes be less precise with rapid heart rate fluctuations.
- Comfort and Fit: You’ll be wearing this during workouts, so comfort is paramount. Look for breathable materials and an adjustable strap.
- Features: Do you need GPS tracking? Music control? Sleep tracking? Advanced HRV analysis? Prioritize features that align with your training goals.
- App Integration: Ensure the device seamlessly syncs with a user-friendly app that provides comprehensive data analysis and insights.
- Battery Life: Consider how often you’re willing to charge your device.
Integrating Heart Rate Training into Different Activities
- Running: Use your heart rate monitor to maintain consistent paces for tempo runs (Zone 3), interval training (Zones 4-5), and long, slow distance runs (Zone 2).
- Cycling: Similar to running, it helps regulate intensity for various training types. You can also use it to gauge effort on hills.
- Strength Training: While not as critical as during cardio, monitoring your heart rate during rest periods can indicate recovery. High-intensity circuits can push you into higher zones.
- Swimming: Waterproof heart rate monitors are available and can help track effort during laps.
- High-Intensity Interval Training (HIIT): This is where your monitor is most vital for ensuring you reach the intended peak intensities and recover adequately between intervals.
Common Pitfalls to Avoid
- Obsessive Monitoring: Don’t let the numbers dictate your entire workout. Listen to your body. If you feel unwell, even if your heart rate is in the “optimal” zone, it’s okay to back off.
- Ignoring Perceived Exertion: Your RPE (Rate of Perceived Exertion) is still a valuable metric. Heart rate data should complement, not replace, your body’s signals.
- Inaccurate MHR Calculation: Using a generalized formula can lead to inaccurate zone calculations. Invest time in finding a more precise MHR.
- Neglecting Recovery Data: HRV is a powerful tool. Don’t overlook its insights into your body’s readiness.
- Not Analyzing Data: The monitor is useless if you don’t review and act upon the data it provides.
By embracing the insights provided by your heart rate